Bolt torque sequence and flange tightening patterns
A bolt torque sequence tightens bolts in a star (criss-cross) pattern so the joint closes evenly: 1-3-2-4 for 4 bolts, 1-5-3-7-2-6-4-8 for 8 bolts and 1-7-4-10-2-8-5-11-3-9-6-12 for 12 bolts. Tighten in passes at about 30 %, 60 % and 100 % of final torque, then check clockwise at 100 %.
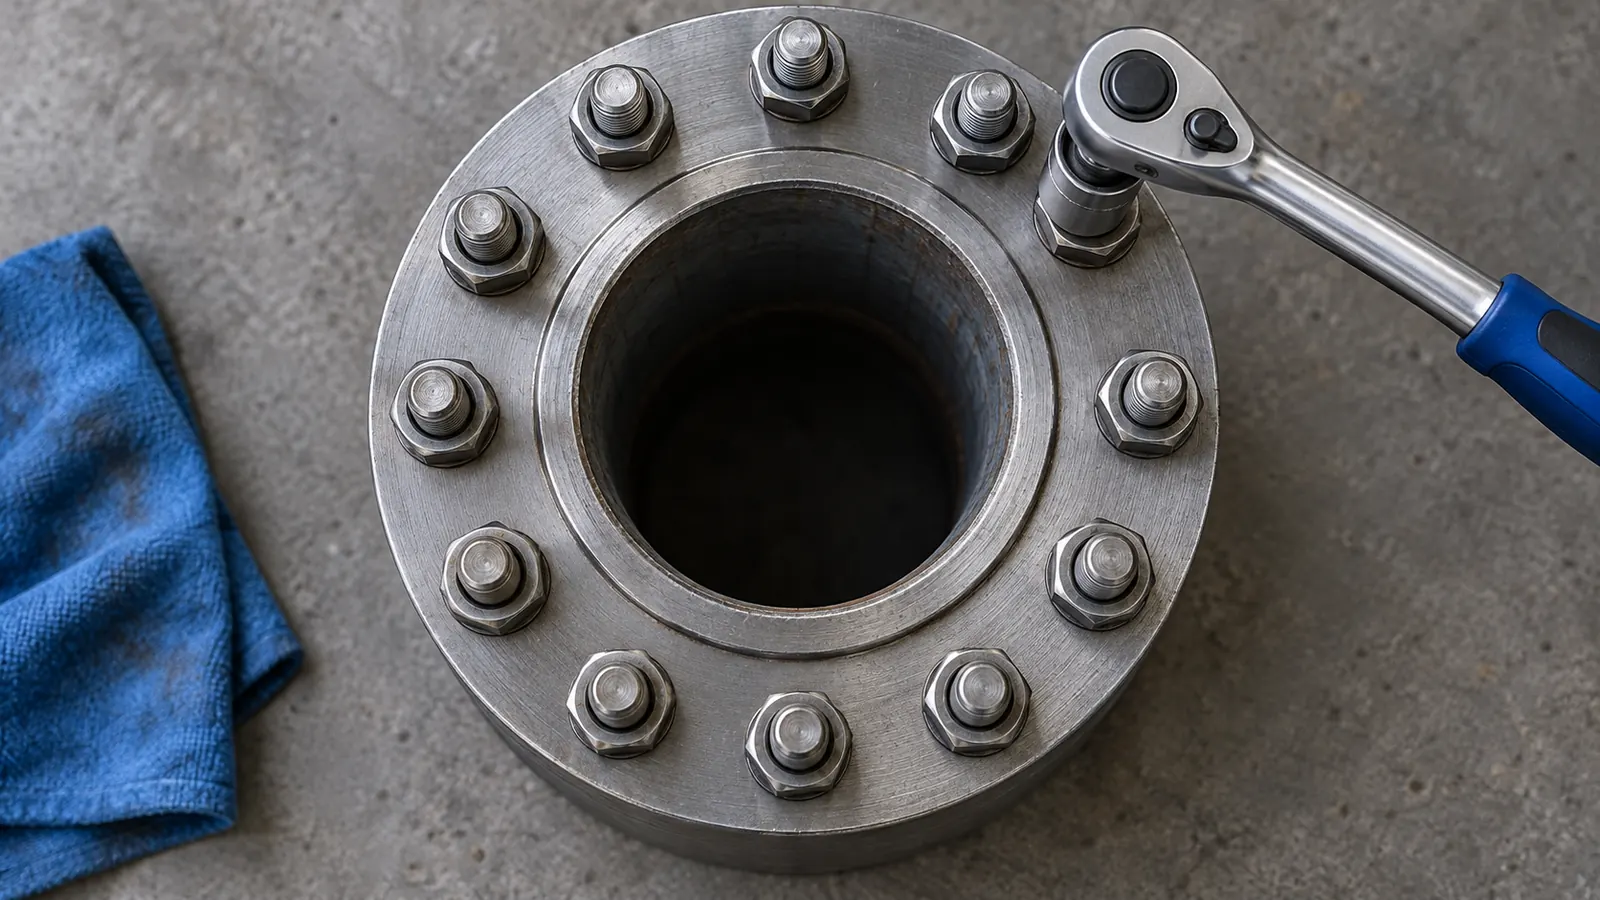
Key takeaways
- 8 bolt torque pattern: 1-5-3-7-2-6-4-8, with positions numbered clockwise.
- 12 bolt flange torque pattern: 1-7-4-10-2-8-5-11-3-9-6-12.
- Tighten in at least three passes at about 30 %, 60 % and 100 % of the final torque.
- Finish with a clockwise check pass at 100 % until no nut turns further.
- ASME PCC-1 alternative patterns can cut passes on large flanges but must be qualified first.
What is a bolt torque sequence?
A bolt torque sequence is the order and number of passes used to tighten a group of bolts so the joint closes evenly. For round flanges the standard is a star (criss-cross) bolt torque pattern: tighten one bolt, then the one directly opposite, then the pair at 90°, in three passes at about 30 %, 60 % and 100 % of the final torque.
Tightening bolts one after another around the circle pulls the flange faces out of parallel. The first bolts tightened lose part of their preload as their neighbours pull the joint down, an effect called elastic interaction or bolt cross-talk. The result is uneven gasket stress and leaks. A star pattern and several passes keep the faces parallel and even out the bolt loads.
The torque value itself comes from the bolt size, grade and thread condition, or from the gasket maker. Calculated starting values are on the bolt torque chart; how torque turns into clamp load is covered in bolt preload and clamp load.
Bolt torque pattern chart: 4 to 24 bolts
Number the bolt positions clockwise starting from any bolt, then tighten in the order shown. Every sequence alternates between opposite sides of the flange so that no area is pulled down ahead of the rest.
| Flange | Tightening order (positions numbered clockwise) | Pattern |
|---|---|---|
| 4 bolts | 1-3-2-4 | Standard star |
| 6 bolts | 1-4-2-5-3-6 | Opposite pairs |
| 8 bolts | 1-5-3-7-2-6-4-8 | Standard star |
| 12 bolts | 1-7-4-10-2-8-5-11-3-9-6-12 | Standard star |
| 16 bolts | 1-9-5-13-3-11-7-15-2-10-6-14-4-12-8-16 | Standard star |
| 20 bolts | 1-11-6-16-2-12-7-17-3-13-8-18-4-14-9-19-5-15-10-20 | Same rule as 12-bolt |
| 24 bolts | 1-13-7-19-2-14-8-20-3-15-9-21-4-16-10-22-5-17-11-23-6-18-12-24 | Same rule as 12-bolt |
The 4, 8, 12 and 16-bolt orders are the standard star sequences used in flange bolting procedures. The 20 and 24-bolt orders shown are built with the same rule as the 12-bolt pattern: tighten a bolt, the bolt opposite, then the two bolts at 90°, then step one position clockwise and repeat. If your site procedure lists a different order, use it.
4 bolt torque pattern
For a 4-bolt flange, tighten in the order 1-3-2-4: one bolt, the bolt opposite, then the remaining opposite pair. Four-bolt flanges are common on small pipe sizes; in ASME B16.5 Class 150, NPS 1/2 to NPS 3 flanges all have 4 bolts.
8 bolt torque pattern and sequence
For an 8-bolt flange, tighten in the order 1-5-3-7-2-6-4-8. Bolt 5 is directly opposite bolt 1, and bolts 3 and 7 are at 90°. The second half of the sequence repeats the same cross one position clockwise. ASME B16.5 Class 150 flanges from NPS 4 to NPS 8 use 8 bolts.
12 bolt flange torque pattern
For a 12-bolt flange, tighten in the order 1-7-4-10-2-8-5-11-3-9-6-12. Each group of four bolts forms a cross: 1 and 7 are opposite, 4 and 10 are at 90°. Then the cross steps one bolt clockwise twice more.
16 bolt torque sequence
For a 16-bolt flange, tighten in the order 1-9-5-13-3-11-7-15-2-10-6-14-4-12-8-16. The first four bolts form a cross at 0°, 180°, 90° and 270°; the next four fill the 45° positions; the last eight fill the gaps between them.
20 and 24 bolt torque patterns
For 20 bolts, one valid star sequence is 1-11-6-16-2-12-7-17-3-13-8-18-4-14-9-19-5-15-10-20. For 24 bolts: 1-13-7-19-2-14-8-20-3-15-9-21-4-16-10-22-5-17-11-23-6-18-12-24. On flanges this large, the quadrant and circular alternatives described below are often used to save time, but only under a qualified procedure.
How many passes: the 30 %, 60 %, 100 % method
Tighten in at least three passes in the star pattern, at about 30 %, 60 % and 100 % of the target torque, then make a final rotational check pass at 100 % going clockwise around the flange until no nut turns further.
| Step | Torque | Pattern | Purpose |
|---|---|---|---|
| Install | Hand tight, then snug | Star | Seat the gasket evenly; check flange gap is uniform |
| Pass 1 | About 30 % of target | Star | Bring faces together parallel |
| Pass 2 | About 60 % of target | Star | Compress the gasket evenly |
| Pass 3 | 100 % of target | Star | Reach final load |
| Check pass | 100 % of target | Clockwise, bolt to bolt | Recover load lost to elastic interaction; repeat until no nut turns |
Measure the gap between the flanges at several points around the circle after the first pass. If it differs, correct it before going on. On large or high-pressure joints a recheck after a few hours, before pressurising, catches load lost to gasket relaxation.
Good practice for every pass:
- Lubricate studs and nut faces if the procedure calls for it, and use the torque for that condition. A lubricated bolt at a dry torque is badly overloaded; see bolt torque formula.
- Use hardened washers so the under-nut friction is repeatable.
- Use a calibrated torque wrench, pulled slowly; see how to use a torque wrench.
- Never reuse a damaged gasket, and do not use a gasket to take up flange misalignment.
Legacy cross pattern vs ASME PCC-1 alternatives
The star pattern with three passes and a check pass is the legacy method in ASME PCC-1, the US guideline for pressure-boundary bolted flange joint assembly. It works on any flange but needs many passes, which is slow on flanges with 20 or more bolts.
ASME PCC-1 also describes alternative patterns that reach the same final result with fewer moves. In general terms they work by:
- Quadrant (group) tightening: treating the flange as four groups of bolts and tightening the groups in a cross pattern instead of single bolts.
- Circular passes: after the joint is snugged and brought up evenly in a cross pattern, going round the flange clockwise at the final torque, sometimes from the first pass.
- Simultaneous tightening: using two, four or more tools at once, placed at equal spacing, which removes much of the elastic interaction.
These alternatives are intended to be qualified for the joint type and gasket in use before they replace the legacy method. Where a written procedure exists, it governs.
Flange bolt counts: ASME B16.5 Class 150
The table shows how many bolts each Class 150 flange has, which tells you which pattern above applies. Higher pressure classes have more or larger bolts.
| Pipe size | Number of bolts | Bolt diameter |
|---|---|---|
| NPS 1/2 | 4 | 1/2 in |
| NPS 3/4 | 4 | 1/2 in |
| NPS 1 | 4 | 1/2 in |
| NPS 1-1/4 | 4 | 1/2 in |
| NPS 1-1/2 | 4 | 1/2 in |
| NPS 2 | 4 | 5/8 in |
| NPS 2-1/2 | 4 | 5/8 in |
| NPS 3 | 4 | 5/8 in |
| NPS 4 | 8 | 5/8 in |
| NPS 5 | 8 | 3/4 in |
| NPS 6 | 8 | 3/4 in |
| NPS 8 | 8 | 3/4 in |
| NPS 10 | 12 | 7/8 in |
| NPS 12 | 12 | 7/8 in |
| NPS 14 | 12 | 1 in |
| NPS 16 | 16 | 1 in |
| NPS 18 | 16 | 1-1/8 in |
| NPS 20 | 20 | 1-1/8 in |
| NPS 24 | 20 | 1-1/4 in |
Flange bolt torque depends on the stud material, lubricant and gasket type. Use the torque from the gasket maker or the joint procedure. The 5/8, 3/4, 7/8 and 1 inch bolt torque pages give calculated values for SAE grades as a reference only.
Torque sequence for wheels, covers and cylinder heads
The same principle, alternate sides and work in passes, applies to every multi-bolt joint, but the pattern changes with the shape.
- Wheels: use a star pattern. On a 5-lug wheel, numbered clockwise, the order is 1-3-5-2-4; on 4, 6 and 8-lug wheels, work in opposite pairs. See the lug nut torque chart.
- Long covers, oil pans and rectangular plates: start at the center and work outward, alternating sides, so the gasket is pushed toward the ends rather than trapped.
- Cylinder heads and manifolds: start at the center bolts and spiral outward. Always use the engine maker's sequence and values; many head bolts are torque-angle or torque-to-yield and must be replaced.
- Bearing housings and pillow blocks: tighten alternately in two or more passes so the housing does not distort the bearing seat.
The bolt grade sets how much load each bolt can carry; see bolt grades and markings. To convert a specification between N·m and ft-lb, use the torque converter.
Sources and standards
- ASME PCC-1
- ASME B16.5
General reference information. When a manufacturer, drawing or governing standard gives a value, that value takes precedence.
Related charts and guides
Common questions
What is the 8 bolt torque pattern?
The 8 bolt torque pattern is 1-5-3-7-2-6-4-8, with bolt positions numbered clockwise. Bolt 5 is opposite bolt 1 and bolts 3 and 7 are at 90°. Repeat the sequence in three passes at about 30 %, 60 % and 100 % of the final torque, then do a clockwise check pass at 100 %.
What is the torque sequence for a 12 bolt flange?
Tighten a 12 bolt flange in the order 1-7-4-10-2-8-5-11-3-9-6-12, with positions numbered clockwise. Each group of four forms a cross. Use at least three passes at about 30 %, 60 % and 100 % of the target torque, followed by a clockwise pass at 100 % until no nut moves.
What is the 16 bolt torque sequence?
The standard 16 bolt torque sequence is 1-9-5-13-3-11-7-15-2-10-6-14-4-12-8-16, with bolt positions numbered clockwise. The first four bolts form a cross, the next four fill the 45° positions and the last eight fill the gaps. Tighten in passes at 30 %, 60 % and 100 %.
What is the 4 bolt torque pattern?
For 4 bolts, tighten in the order 1-3-2-4 with positions numbered clockwise: one bolt, the bolt opposite, then the other opposite pair. Even with only four bolts, use two or three passes so the flange faces stay parallel and the gasket is compressed evenly.
How many passes should you torque a flange in?
Use at least three star-pattern passes at about 30 %, 60 % and 100 % of the final torque, after snugging all bolts by hand. Then go round clockwise at 100 % and repeat until no nut turns. Large or critical flanges are often rechecked after a few hours before pressurising.
Why tighten bolts in a star pattern?
A star pattern alternates between opposite sides so the flange faces close parallel and the gasket is compressed evenly. Tightening bolts in order around the circle tilts the faces, and early bolts lose preload as their neighbours are tightened, which causes uneven gasket stress and leaks.
What is the lug nut tightening pattern?
Tighten lug nuts in a star pattern. On a 5-lug wheel numbered clockwise, the order is 1-3-5-2-4. On 4, 6 and 8-lug wheels, tighten opposite pairs. Use two passes, then a final pass at full torque with a torque wrench, and follow the vehicle maker's torque value.